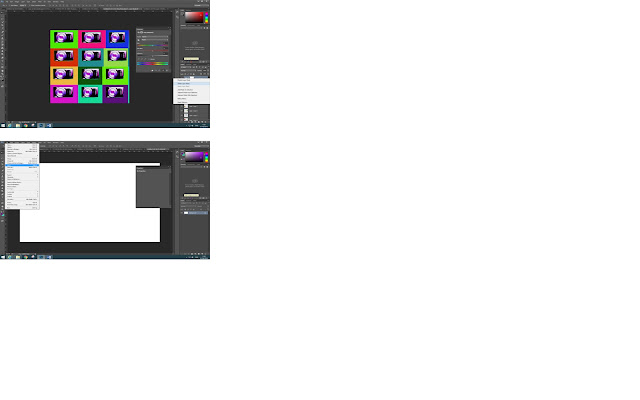
The fourth step is to add your image onto a new document using the measurements of 420 by(x) 594 and 30 resolution for the correct size for your final pop- art image. You might need to add another new layer for this to work. Then you need to flatten the image on the layers or the image background won't work/turn out well- the way that you want it to. The fifth step is to change the background to any colour you want. You do this by clicking on the paint bucket tool which is located and found on the toolbar. Then you need to change the hue and saturation. To do this you click on the icon at the bottom right hand side of the page where the layers are. It is located right near the bin and layer mask. The sixth step is to duplicate the layer. To do this you click on the layer that should be highlighted. Then you right click and click duplicate layer. This will give you another layer exactly the same as your previous layer, except it will put the new layer on the old layer. Then you need to drag your new layer next to your old layer.
Next you just change the background colour to something bright. This will give you a pop- art image. Then you repeat the process multiply times until you end up with a page of pop- art images. The last steps is to flatten the image which is mainly located along the layers. You just need to click on a layer and it should come up with flatten image. If it doesn't you just need to click on layer and flatten image. Then you just need to save your work to a hard drive or memory stick.


No comments:
Post a Comment